Instructions
Please follow the 7 simple steps below to install your Flush and Save Toilet Valve.
Remove the toilet pan connector from the back of your toilet, (the toilet pan connector is approximately 4in. in diameter, white in colour with a black rubber sealing ring)
Remove the black rubber sealing ring from the existing pan connector or your new pan connector.
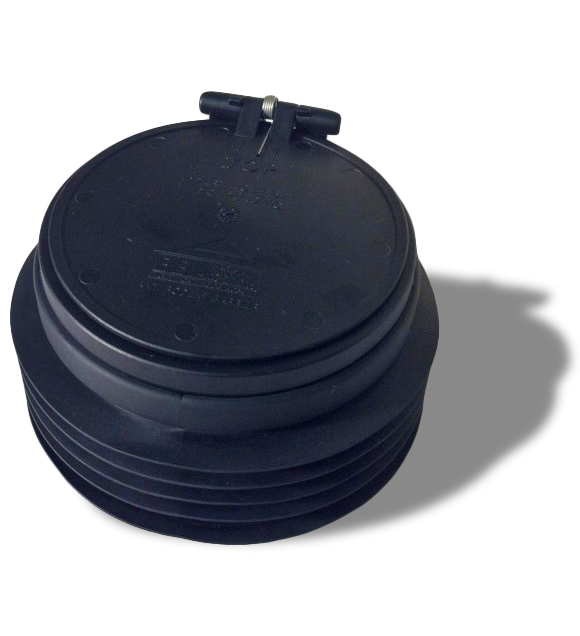
Remove the Flush & Save valve from its packaging and push it onto the pan connector. On the lid of the valve you will find the word ‘top’ this is to be fitted to the pan connector so the lid opens in an upwards fashion to allow full discharge when the toilet is flushed. Always ensure the lid opens upwards when using a horizontal pan connecter.
When fitting to a vertical pan connector ensure the lid will open working with the flow of any bends.
Re-fit the toilet as you would normally, the Flush & Save water saving valve will seal all pipes just like a standard non protected pan connector.
In need of product support?
Please Contact us with your details and we will get in touch with 24 hours.